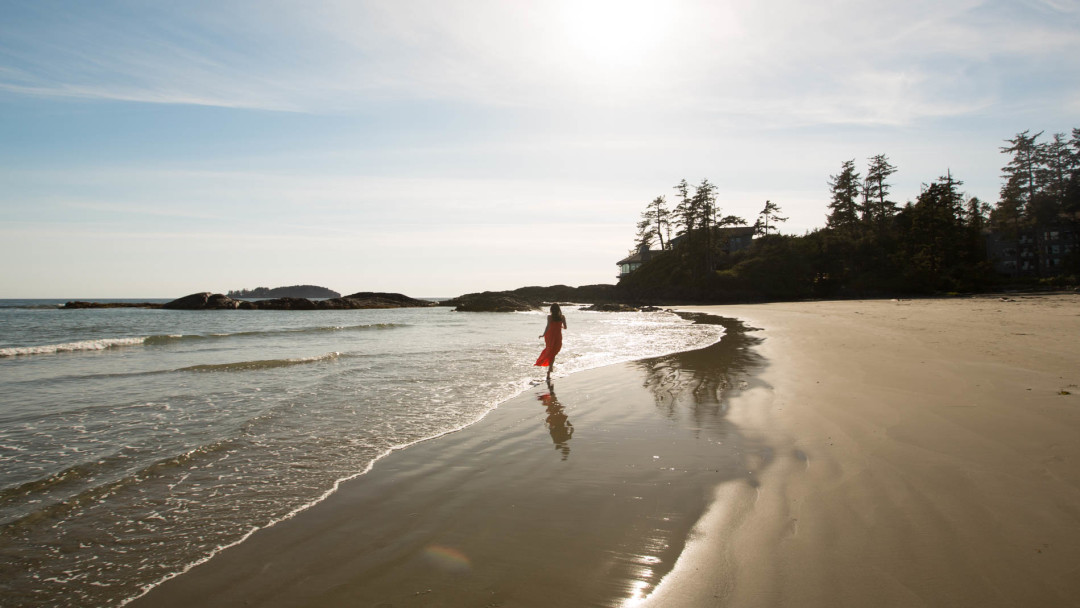
I’m doing a bit of digital spring cleaning today, starting with my library of photos in Lightroom. During my cleaning, I noticed all the crummy photos I’ve taken over the last few years. After feeling mildly embarrassed, I realized how much I’ve actually learned about photography, simply from taking bad photos.
So, I’m going to do something that I’ve never done, share some of my worst photos (eek) and the lessons I learned from them.
1. Learn to focus your camera manually.
Both focus and composition were not my friend in this picture.
Focusing is one of the most basic photography skills, yet it seems to be the most difficult to master. When I started I relied completely on Auto Focus, which rarely, if ever, worked in low light and back lit situations.
Because of this dependance I spent most of my time during shoots waiting for my camera to grab focus, then actually taking shots. Since I’ve been shooting a lot more video with the 5DMKII, I’ve had to master manual focus. Now, I find my eye is a lot more reliable than auto focus.
2. Learn to expose your pictures correctly.
Ouch, this photo is blinding me!
Nothing you do in post will save an overexposed picture. You cannot recover information that isn’t there to start with, so turn on your histogram and watch out for “blinkies”. Highlight warning flashes on your histogram let you know which parts of your photo are overexposed.
This is particularly useful when you are outside on a sunny day and can’t see your camera’s LCD screen very well. Look in your camera manual for Highlight warning and it should tell you how to set this feature up on your camera.
3. Don’t crop off body parts.
I haz no fingurz!
This would be a good photo except for her missing fingers and elbow… Doh! In going through my old shots, I noticed many shots where I cropped out a lovely model’s foot, chin, arm, or leg. Even your most creative editing job will not save a photo of model with a missing chin.
I shot most of the party shots at 6400 ISO and used the LED to light people’s faces when they were talking. Next time I’m going to put a CTO (orange) gel on the LED to give people a nice tan, instead of the ghostly whites. Cuz let’s face it, us tech peeps need all the tan we can get. :P
NYC: A city that is dead serious about yellow taxis, car horns, smoking, noise, fashion, firemen & late night diner food.
As soon as I step out of the plane in Newark, NJ, I am in full sensory overload.
Arriving in Newark, NJ.
The stifling, muggy heat is a shock to my system. It reminds me of Toronto in mid-August during an unbearable heat wave.
Pete Cashmore being hit with the muggy air outside of Newark Airport.
The city is sticky. My flip flops slap against the side walk and actually stick for a fraction of a second, until they get a dunk in something wet. I’m hoping it’s left over rain water. *crosses fingers*
I’m back from a quick trip to San Francisco. Although I brought my 5DMKII, I actually spent most of my time shooting with my iPhone. I found myself really enjoying snapping hundreds of pictures with wild abandon, shooting things I would have never “wasted” shots on with my 5DMKII.
This experience was a valuable reminder of what I love about photography: The act of taking pictures. The sheer joy of capturing a moment is such a powerful feeling as a photographer and one that I’ve been missing in recent months.
Team Cheer at the SF Heart, Union Square, SF.
I find that many photographers, especially the perfectionists among us, feel a huge pressure when it comes to their photography. Gaining good editing and photoshop skills, as well as pushing yourself creatively is an important part of becoming a better photographer, but when you start feeling perpetually unsatisfied with every picture you take, you start to lose the passion and love for the thing you love to do.
I’ve noticed this with my attitude towards my own photography, so I thought I’d share some tips to help you generate a little bit of heat between you and your camera.
1. Fill up your memory card.
Union Square, SF, iPhone.
Never limit the number of shots you take based on digital space, just line your pockets with memory cards :) Memory is cheap. Buy plenty of memory cards and don’t be scared of filling up your cards. I carry 2×8GB, 2×4GB, & 2×2GB CFs plus 2×8GB SD cards for my P&S with me all the time.
Flickr informed me that it was World Tapir Day, so I thought I’d give a little shout out to one of my favourite animals. Plus, I have this little vid that I took at the SF Zoo last year starring a very lovely and docile Tapir Goober!
Aside: I’d love to see a Tapir using an iPad. Now that’s a hit viral video in the making.
Another moody & cold day for shooting outdoors. This was my first of three shoots I did yesterday. My model was freezing so we huddled in a back alley which was slightly warmer than the wind tunnel where we first started shooting. Nothing more glamorous than shooting in a back alley :/
I was using a really basic one strobe set-up: The 430EX strobe was set to Manual, 35mm, 1/8th power and was triggered using the Alien Bees Cyber Syncs. I softened the light by using a shoot-through umbrella. This set-up which works well if you are shooting outside on the fly and you can’t carry a lot of gear because you put your back out the week before :-/
I was almost ready to give up on the shoot at this point because there was no light and we were both shaking from the cold. Then, out of the corner of my eye, I saw a car coming slowly towards us. I asked Taravat give me a lost/mysterious expression and I snapped this. It was the last shot of the photo shoot and told such a story — almost like a scene from a movie.
Everytime I stick with a shoot to the bitter end, I always get an unexpected shot that I hadn’t planned. And often the last shots I shoot are the best.
What I’ve learnt from these shoots is that you never get a second chance to capture a spontaneous moment, so shoot furiously until your hands are numb and your legs are shaking and you know you’ve got the shot. Trust me, it is worth it to have no regrets with your photography.
Celebrating my first iPhone… a year and a half after my American neighbours.
I’m going to be a total party-pooper and say, “nay” on purchasing the new Apple iPad. “Ohh, but it’s so shiny and new. You know you’ll want one when you see it,” say the fanboys. True, it is shiny and new, but I still don’t want one.
That doesn’t mean that I won’t sweat and quiver a little when I hold an iPad in my hot little hands, but the moment will be fleeting and easily replaced when I grasp the 16-35mm f/2.8 I have my eye on.
Besides feeling mentally bloated with the sheer number of iPad related articles in my RSS reader, chatter on Twitter & Facebook, and unboxing and app preview videos on YouTube, I actually feel quite underwhelmed by the product. Here are the reasons why I’m not buying an iPad:
1. The iPad is not available in Canada yet.
Canadians and International customers are snubbed again. It’s like the iPhone all over again. All the Americans grinning with their new fancy toy, saying, “Haha. Want one of these? Hey? Want one? Well, you can’t have it. So ha!” What’s the deal? I live 1 1/2 hours from the US border. Couldn’t just pop a few in an air canon and send some our way?
2. I already own an iPhone.
I love my iPhone. It’s light and small and fits in my back pocket. It has 3G so I can use it outside of my house when I actually need to be connected to the internet and google maps, as I have the tendency to wander. It has a plethora of cool apps and I can even take pictures with it!
3. Any gadget without a camera is useless to me.
It should be a rule that every gadget has a camera. If I could take pictures with my toaster I would. Think about it. Toaster cam. Actually, add a video camera to that and live stream it on YouTube. Done.
4. I own a laptop.
I get it. Laptops are heavy to truck around. Even the Air can weigh you down after a while. But, laptops can actually do useful things like run Photoshop and Final Cut and they have actually have real keyboards that are attached to them! And honestly, who would ever go on a trip without their laptop?
I am an extreme multi-tasker. When I am on a long plane ride, I don’t watch movies or play solitaire, I edit photos or videos. If all I could do was look at pictures and videos and flick them around, I would become so frustrated.
5. I don’t have $500-$800 kicking around in my back pocket.
As a photographer I have a long list of “Things I need” that should and will go before buying something as frivalous as an iPad. Sure it’s cool, but I’m going to be honest with myself and my financial situation and groceries unfortunately have to come before gadgets.
It’s not that I don’t think it’s cool, it is just a completely impractical product for me. Honestly, I just don’t think I’m the right demographic for the iPad. For me, functionality and simplicity trumps any shiny, new fun thing.
What about you? Are you gonna buy the iPad or save your money and buy a sweet new lens?
Most photographers start their photographic journey taking photos at special events. Whether it’s a football game, a family wedding, or a rock concert, capturing the raw, spontaneous moments of these events is something all photographers aim to do.
A few weeks ago, I had the rare opportunity to photograph the Olympics in my home town. The action was happening outside my window 24 hours a day for 17 days, and as you can imagine I felt both elated and overwhelmed at the same time.
Besides learning to pace myself and charge batteries each night, I learnt some valuable lessons. Here are my top 5 tips to taking better event photos:
5DMKII +16-35mm f/2.8, 1/80 @ f/4.5, ISO 100.
1. Know what you are going to shoot before shoot it.
50% of event photography is preparation. Before you even leave the house, visualize what shots you want to take. Seems like overkill, but if you only get a few seconds chance to capture a bride walking down the aisle or a few one hundredths of a second to catch a speeding bobsled on the track, so you have to make your shots count.
I recommend writing down a shot list (e.g., wide shot of the bobsledding venue, close-up shot of some passionate fans, shot of speeding bobsled etc.) and even sketch out the important shots you want to take. If you don’t know where to start, search Flickr and the web for shots that people are taking of the event have taken at a similar event in the past.
Photo by Scott Meinzer. Me & my 5DMKII + 70-200mm f/2.8.
2. Bring the right lenses
Now that you’ve got your shot list and have an idea of what you plan on shooting, you can choose the right lenses for the job. Ideally, you want cover all your bases with a wide, mid, and telephoto lens. If you lucky to have these options then use them. And no wining about how heavy your lenses are! If you are like me and only own a few mid range lenses, consider renting a wide angle lens like the 16-35mm f/2.8 and a mid-range telephoto lens like the 70-200mm f/2.8 IS.
If you are working with a standard 18-55mm kit lens, you’ve got your wide and mid-ranges covered, but fall short on long distance zoom. You might want to bring along your point and shoot for zoom shots, or just focus on the action you can capture.
This flimsy umbrella will protect me from anything! Maybe not. :(
3. Prepare for bad weather — rain, snow, hail, world-wide apocalypse etc.
Inevitably, if you are shooting outside, it will rain, sleet, hail, or fireballs will fall from the sky. If you are unprepared, bad weather can ruin your gear, your shots, and your shoes. I learnt this the hard way when I had to trek through the slush, snow & mud at the bobsled event in tight jeans and Ugg boots with a floppy canvas bag. By mid-day I had 4 inches of freezing, dirty water in my boots and my photo bag was drenched. Luckily my 5DMKII and the 16-35mm f/2.8 were water-tight, though I did get some crazy condensation in my view finder.
Not that you’d make this same n00b fashion error, but taking a few moments to weather proof your gear and your feet is always a good idea.
Most camera bags offer some kind of water protection, but none are completely waterproof. If you want ultimate water protection, you’ll have to cart around a pelican case. Just to be safe, I always carry a spare plastic bag that fits over my camera bag just in case I get caught in a thunder storm. Smaller cameras can be sealed in plastic ziplock bags. An umbrella can be used to shield your camera when you are changing lenses and works well in snowy conditions as well.
4. Capture the story of the event
Every event has a beginning, middle, and end. Try to capture the entire story of the event. Take pictures of the empty venue and snap shots as people arrive. Show the full scale of the event. During the main event, set your camera to burst mode and shoot as many shots as you can. Bring a lot amount of memory cards. Never let space dictate how many shots you should take.
Set your camera to burst mode and concentrate on capturing the reaction of the audience, as well as the main action. Reaction shots are priceless and often capture the emotion of the event better than the actual event.
5. Get as close as you can to the action
You are never going to get those pure visceral shots if you shoot like a shrinking violet. Watching professional sports photographers at the Olympics made me realize that you really have to get close to the action to get great shots. Even with huge zoom lenses, they parked themselves right against the bobsled track, elbowing their way in, and constantly moved around to get the best shot.
During the Olympics I shot wherever I wanted to shoot without concern for whether it was “allowed” or not. In the past I’ve been so worried about getting in trouble that I’ve missed excellent shooting opportunities. I honestly think the best policy is shoot fast and furious until the cops show up.
5MKII + 16-35mm f/2.8, 1/320 @ f/5.0 ISO 250.
Many people were surprised that I was able to get so close to the bobsled track when I captured this footage of the USA-2 bobsled crash. I happened to be in the right place at the right time, but I had to really stand my ground when other photographers started trying to push in.
Lately, I’ve become so hypercritical of my photography that I haven’t been able to post any of my shots on my blog or Flickr in ages. I literally have hundreds of shots that I’ve worked on and never uploaded because I didn’t think they were good enough. This even includes all of the shots I took at the Olympics.
I had such high expectations of myself going into the Olympics, that I was inevitably disappointed with the shots I took.
5DMKII + 16-35mm.
Rigorous editing of your photos is an important process in a photographer’s journey, but becoming a stubborn perfectionist ultimately hinders growth.
Because of this unattainable need for technical perfection, my creativity has hit an all time low and I have lost confidence in my photographic ability.
In an effort to jump start the process towards a more laissez-faire attitude in my artistic pursuits, I’m going to start sharing these imperfect shots with you, because if nothing else we can learn from my mistakes.
That or we could form a therapy group called “Photographers with Issues” where we gather for low pressure photo walks, mutual back patting, and emotional gear sharing sessions…
First topic:
When L-Lens addiction takes over your life: How to ween yourself off before you max out your credit card and alienate all your friends.
Lisa Bettany is a Canadian television and podcasting personality, professional photographer, and iPhone App developer based in Vancouver, BC & San Francisco.