Long exposure night shots of car light trails are one of my favourite things to shoot in cities, especially if I’m jet lagged all day, and wake up at dinner time. Oops, the light is gone. No worries! Night shots are cooler and more impressive to your friends on Facebook than the tired old selfie in front of a popular landmark shot, but you don’t do that anyway because you are a real photographer. Right? Good!
Recommended gear:
1. Camera with manual or bulb mode.
You need to be able to control both the shutter speed and the aperture, so Auto mode won’t work. You can also use shutter priority mode, but I always recommend using manual so you get ultimate control of your images.
2. Tripod.
You will need to take a 5-15 second exposure so unless you are a ninja, you will need a tripod. I have used posts and ledges before, and they do work in a pinch, but you will never get the angle you want and it’s never good to place your camera in a precarious spot. Trust me.
3. Remote trigger.
If you forget or don’t want to fork out the $100, you can always use your 2 second delay timer mode, but you can sometimes get camera shake. With that being said, I have used this method more times than I can count because I almost always forget my remote. It is much easier to have one. If you remember ;)
4. Lens hood.
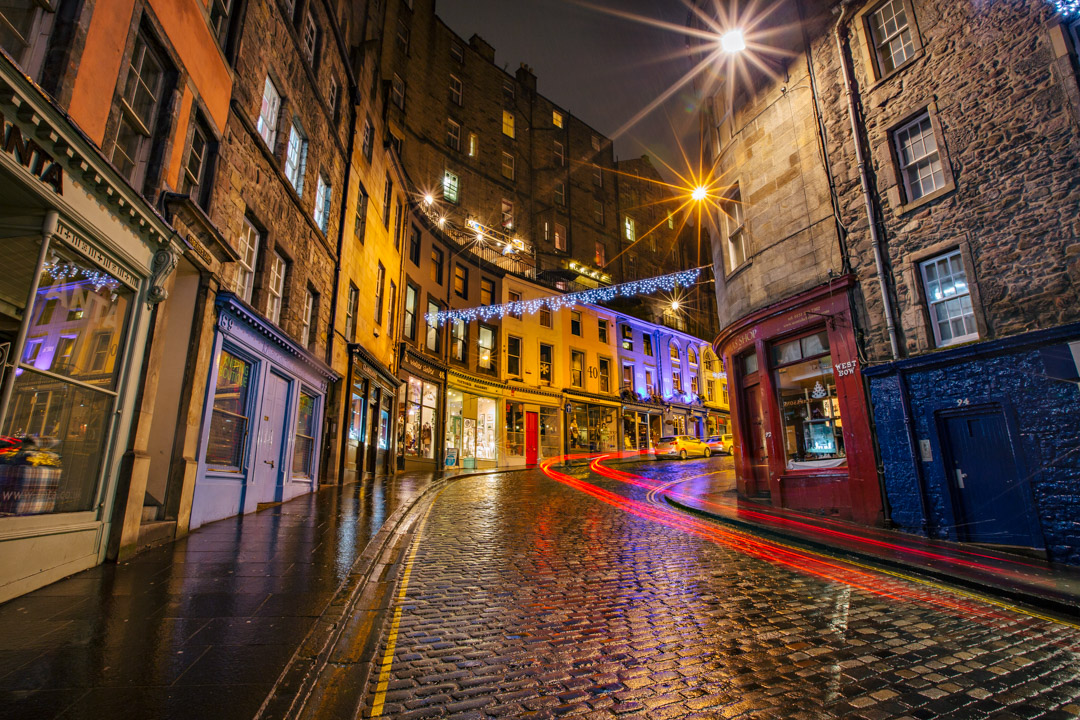
You can get nasty lens flare on your shots from street lights without your lens hood. Photoshopping out lens flare on night photos is an absolute nightmare, so best to put it on. In the below shot at Victoria St in Edinburgh, I created a lens hood out of business cards and duct tape to protect my lens from the light and hail/snow. Bet you didn’t know I moonlighted as MacGyver did you?
5. Wide-angle lens.
Wide or fish-eye lenses can give a cool, surreal look to this type of photo. You can use any lens, but I prefer the 16-35mm or 14mm. I sometimes use my 15mm fish-eye if I want to get something really funky and distorted looking.
6. Snacks.
You will thank me for this suggestion when you are waiting 30 minutes for a car to pass by. Also, is there ever a bad time for snacks? Hmm, now thinking about it, I guess there potentially are times you don’t want snacks, but this is not one of them.
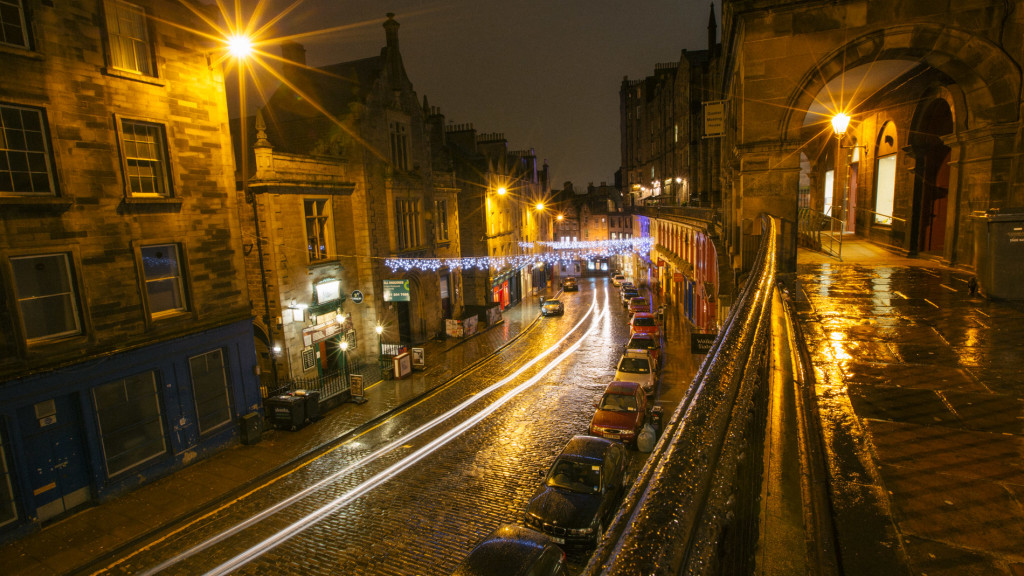
Ok. You’ve got your gear and some tasty snacks, let’s go shoot! When choosing your location, watch the pattern of the traffic. Look for sections where there are bends in the road, or a place where traffic moves in a cool pattern. If you head out after it’s rained or you are in the UK and it is currently raining and your biscuits are getting soggy, you are luckier than you think because roads look very cool when they are wet.
Easy shooting tips for light trails:
1. Set your Shutter speed from 5-20 seconds.
This should be long enough if there is enough ambient light from street lights. If you are somewhere really dark then play with exposures up to 30s. If there are a lot of cars whizzing by and the light trails section of your photo starts looking overexposed then cut down to 5-8s.
2. Set your Aperture from f/8 to f/16.
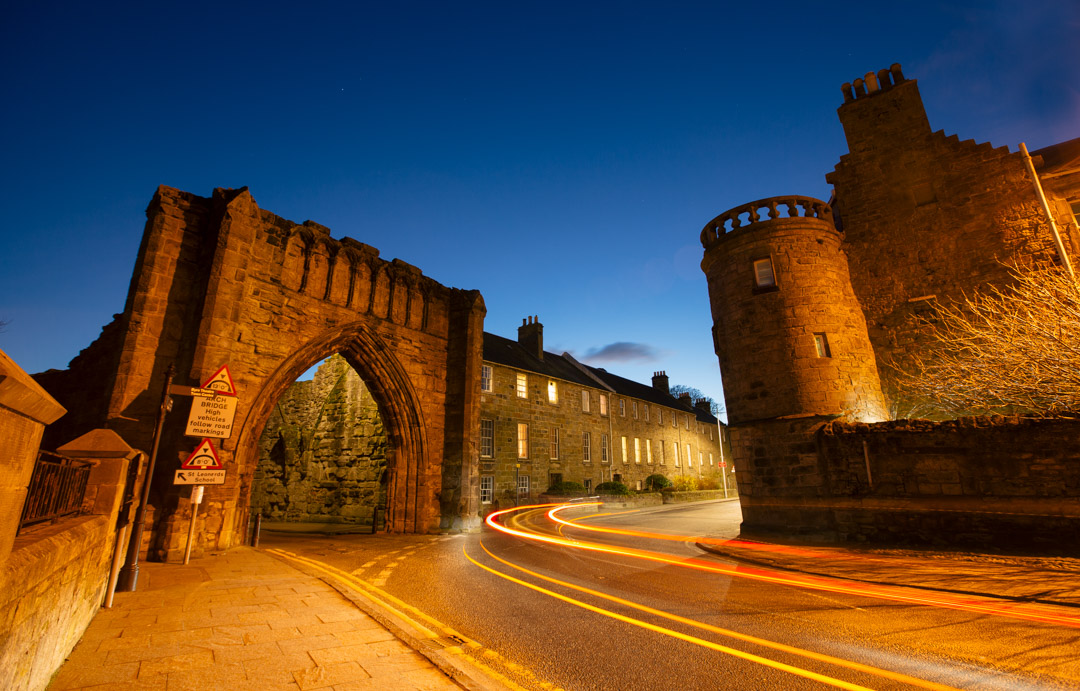
I find these setting work best, but you can always play around with a wider aperture if you need more light. It was very dark in the below photo of St. Andrews, so I used f/5.6 to get a bit more light into the shot. Note that aperture settings greater than f/16 make streets lights look like “starburst” shapes which is an effect you can see in the above photo of Victoria St.
3. Set your ISO from 100-200, 400 max.
I personally aim to shoot at ISO 100 in all my shots to minimize noise. If your image is too dark then increase your exposure time, rather than upping your ISO, especially when you are on a tripod.
4. Take RAW photos instead of jpgs.
This will give you more to play with in post and you may need to boost some shadows in post. This is a good habit to get into in general. RAW > JPG. Always.
5. Use Manual focus.
Your camera will likely have a hard time focusing at night, so to avoid missing the shot while your camera’s focus is darting around, set your manual focus to a mid point in the road. Also, focusing is much easier just after sunset during blue hour when there is more ambient light.
6. Take several shots in the same spot.
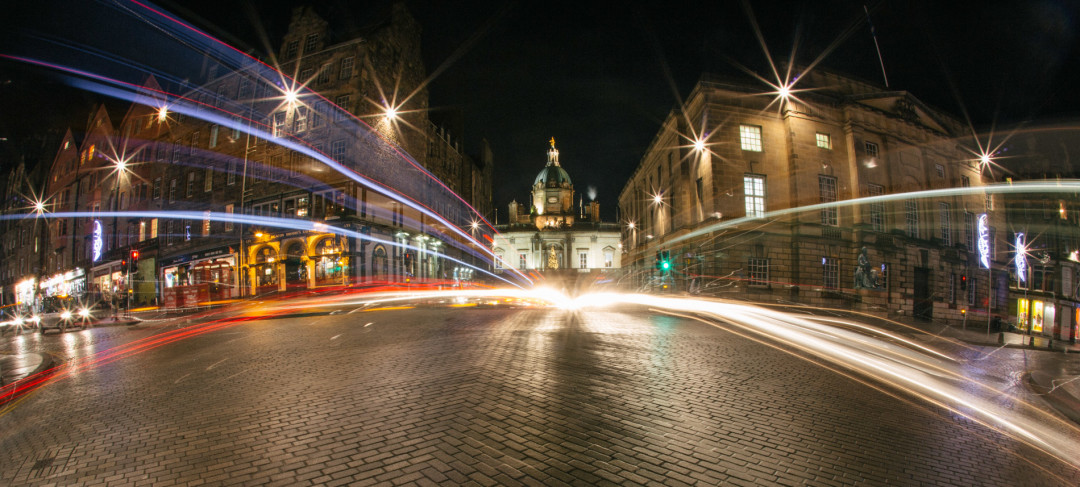
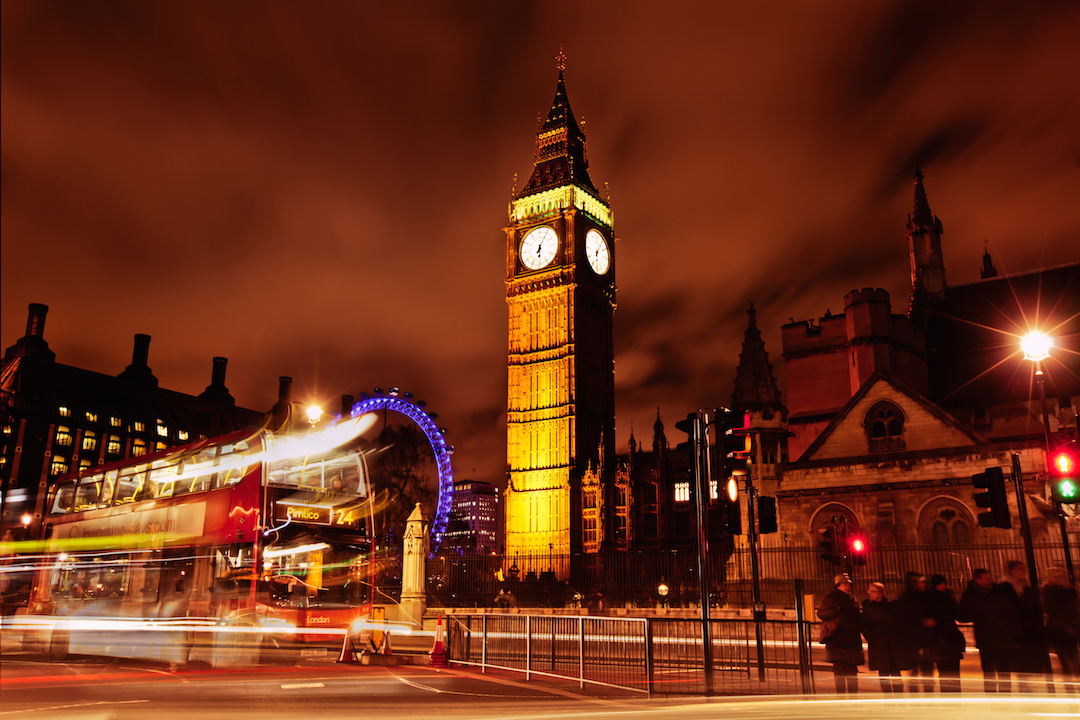
You might not get the perfect light trail in one shot, but you can easily combine the light trails from several images by using basic compositing techniques in Photoshop. I used this method to combine the bus and other lights in the photo from London. (A future tutorial perhaps?)
Tom
April 12, 2016 at 1:41 PMUseful tips, great shots, fun read!
Mostly Lisa
April 13, 2016 at 10:57 AMThanks for the comment! So glad you liked it.
Jsen Brit
April 13, 2016 at 8:44 PMThanks for the info and the time you put into it! Mostly into sport but will definitely try this out. Sounds like fun!
Paul Csogi
May 10, 2016 at 3:48 AMIf you’re using your iPhone you can also use you earbuds + volume button as a remote. Very useful too.
Mostly Lisa
May 10, 2016 at 7:15 AMyes! we invented that feature with Camera+ :) I still use it to this day!
Paul Csogi
May 10, 2016 at 1:15 PMhaha, of course you did… :)
Rafael Nascimento Sampaio
June 14, 2016 at 9:37 PMYes they did as a easter egg, and apple took their app of the appstore until they removed this feature, the feature only returned after apple was using in it’s own app.
Apple justified at the time saying that the volume button should not be used for anything else than change volume and that it would confuse users, at that time there was even an rule in apple developer rules for app development that you should not override the default buttons functions, and that was the oficial motive to remove the app from appstore.
Xplorato
May 31, 2016 at 12:58 AMVery insightful, i haven’t really explored lighting with my photography yet but these will definietly come in handy once i move towards that :) as always great read
Will Adam
June 8, 2016 at 3:49 PMNice post. I love the St Andrews shot as I went to university there and the Edinburgh locations I pass everyday as I am currently at university there!
Am thinking I’ll try the Victoria Street shot from the other end next time it is raining! :-)