Simple set-ups. Beautiful results.…
Simple set-ups. Beautiful results.…
Learn from your photographic mistakes :)…

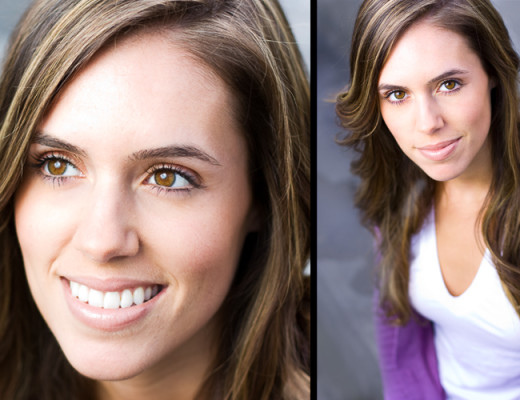
get more professional looking shots!…
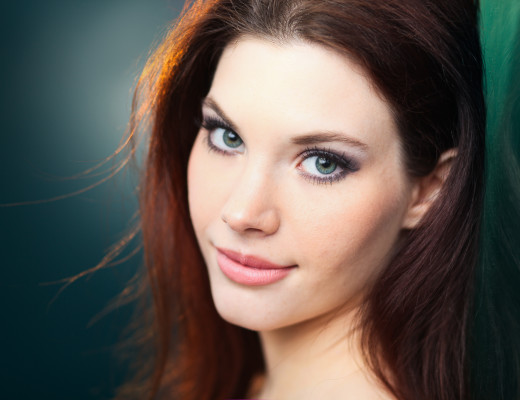
The key feature in any portrait is the eyes.…

Tips & tricks to photographing your pet's personality.…
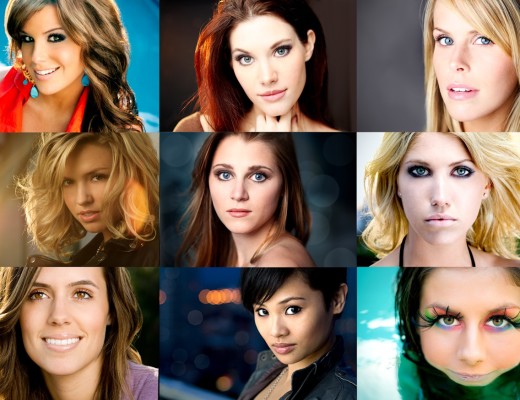
Hey Guys! Another awesome bunch of entries for the second Mostly Lisa Photography Contest! It was tough, but I had to pick my top 8. And here they are: “Heather” by ldsnately.…

captured in Akumal and Tulum…