Simple set-ups. Beautiful results.…
Simple set-ups. Beautiful results.…
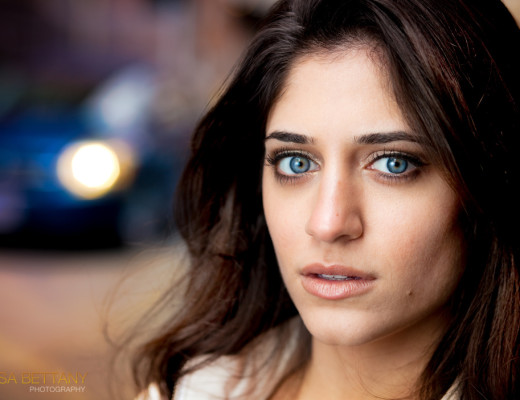
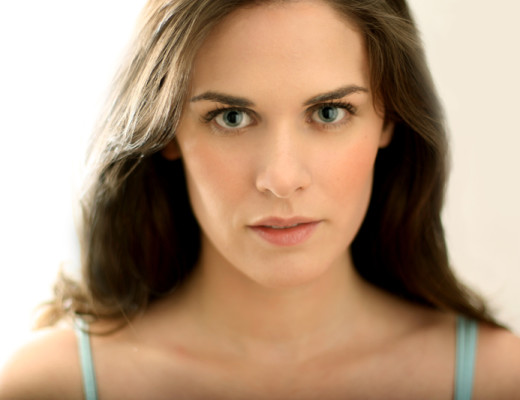
5DMKII + 85mm f/1.8, 1/125 @ f/3.5. Model: Taravat Makeup: Mika Another moody & cold day for shooting outdoors. This was my first of three shoots I did yesterday. My model…
get more professional looking shots!…
A call to action for aspiring photographers!…
best gift ideas for Photographers…
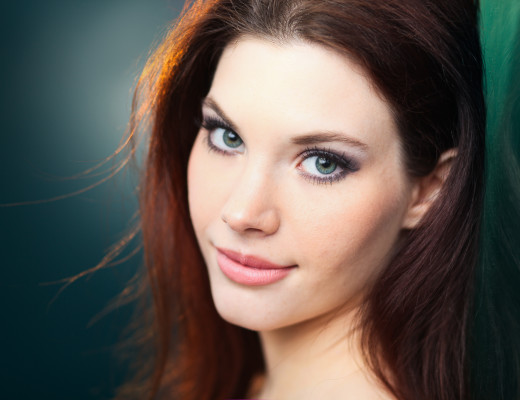
The key feature in any portrait is the eyes.…
The camera to buy for first time dSLR owners.…
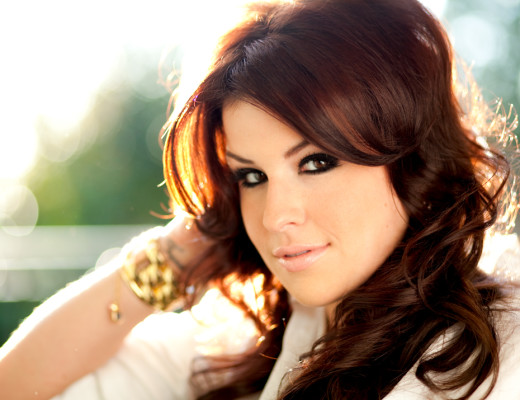
Canon Xti (400D), 50mm f/1.4 lens, f/3.5, 1/160, ISO 100, Processing with PS. I was a guest judge for the LG Denim DIY fashion competition on Thursday morning and I couldn’t…
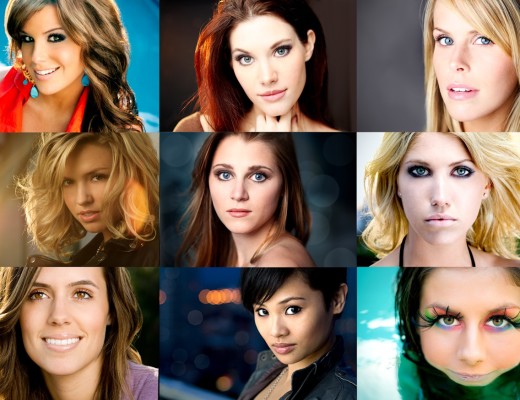
Getting great Portraits.…
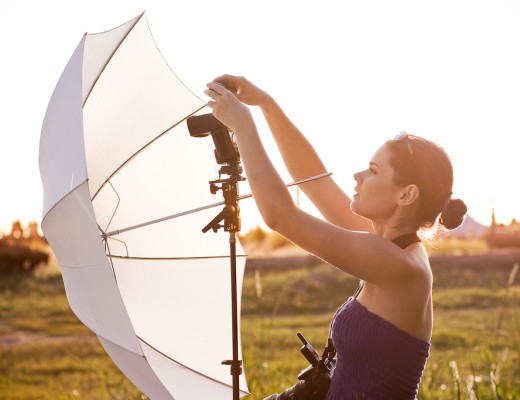
Getting started with strobes.…