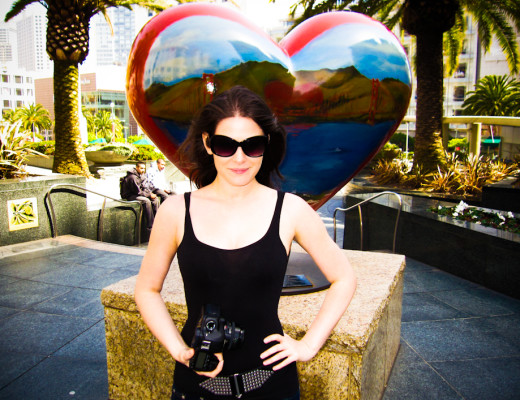
Tips & tricks from a model slash photographer.…
Tips & tricks from a model slash photographer.…
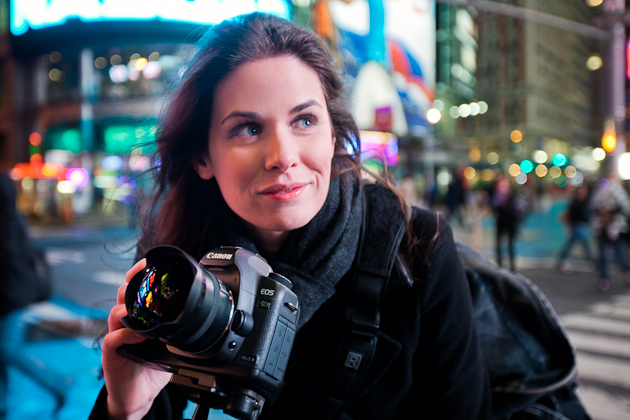
Photography tips for 2012.…

bokeh beautiful!…
The story of my very first book cover!…
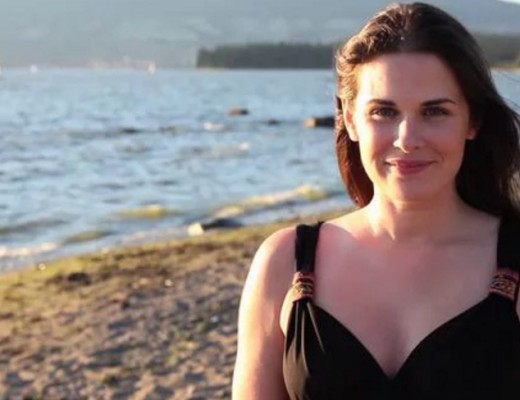
How to take great beach shots!…

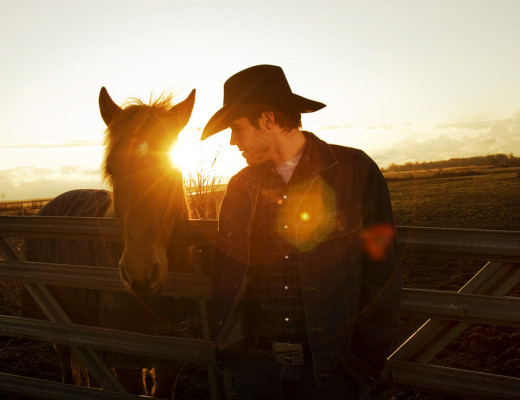
Learn from your photographic mistakes :)…
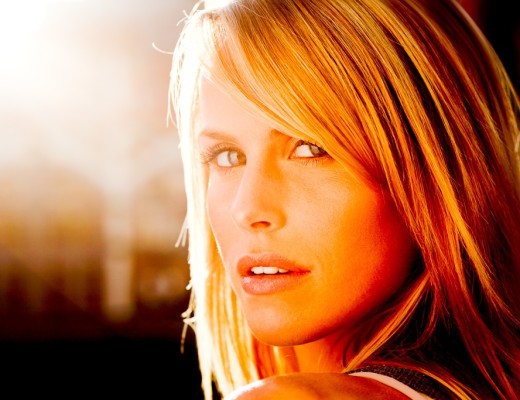
How to rekindle the heat between you and your camera.…
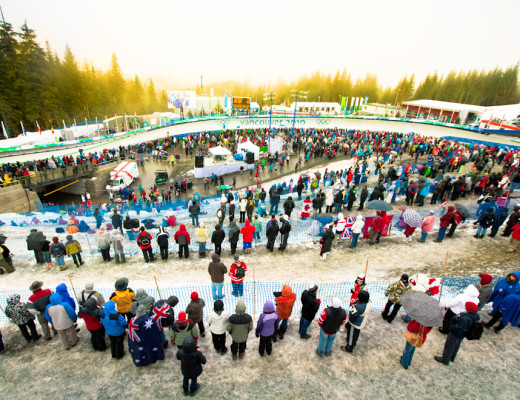
What I learned from shooting at the 2010 Olympics.…