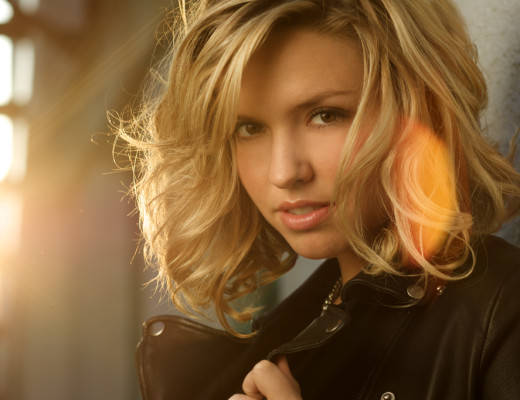
Photography Behind the Scenes: Promo shoot with Kylee Epp Strobist shoot on Jericho Beach.… September 7, 2008
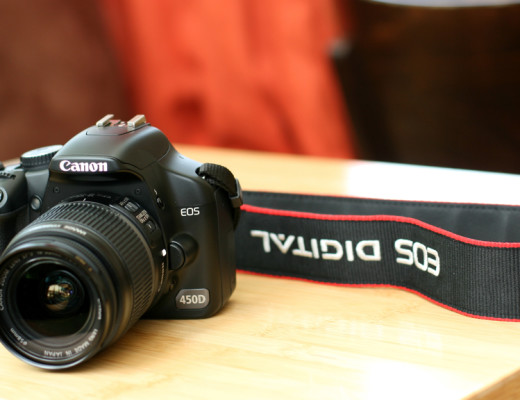
Geeky Stuff Photography Learn How to Use Ur Camera Number 1# Tip for Beginner Photographers.… August 27, 2008
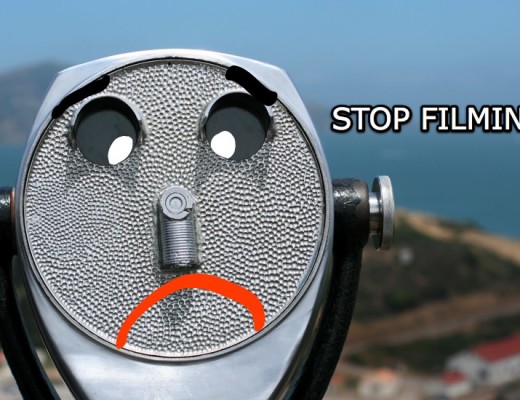
Photography What are Your Rights as a Videographer or Photographer? It is not a crime!… June 17, 2008
Featured Photography DIY Flash Photography for the Thrifty and Unrich Getting started with strobes.… April 2, 2008