Tips & tricks from a model slash photographer.…
Tips & tricks from a model slash photographer.…
Things to keep you shooting during the winter months.…

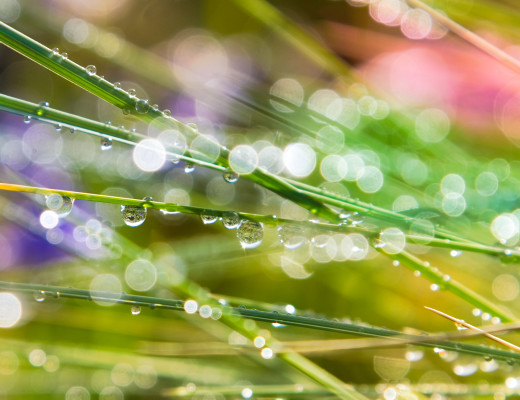
bokeh, blossoms & babes' bosoms!…
Get prepared for your next photo outing!…
5 ways to get better exposures in low light …

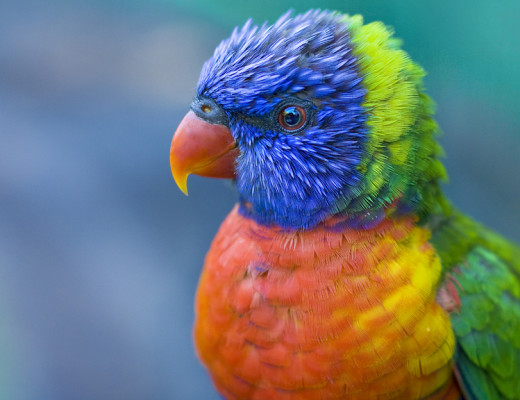
Tips & tricks to photographing your pet's personality.…
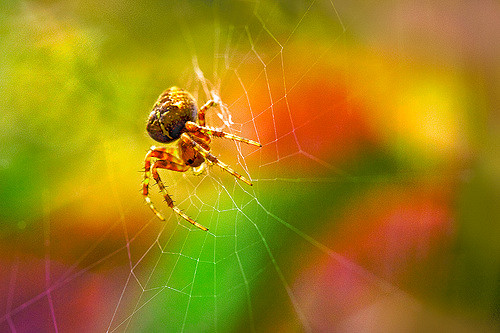
Finding inspiration on bad creative days.…
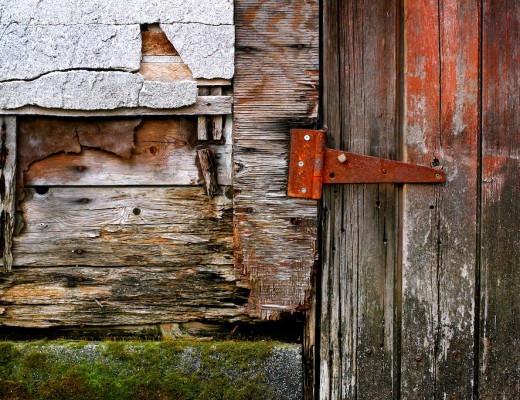
Mossy rocks, rotting wooden fences, rusty hinges oh boy!…
Learn from a pro in this video post.…
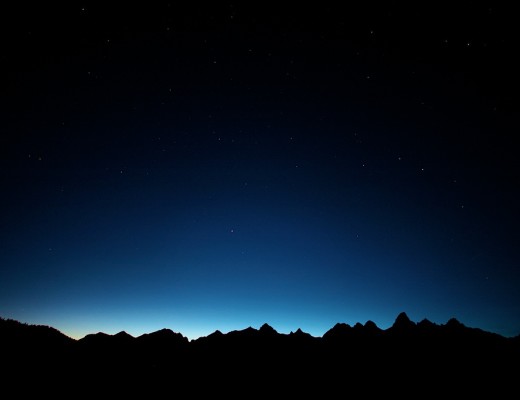
How to Shoot the Stars…