The Makanyane Safari Lodge is located across from the Madikwe Game Reserve in the North-East of South Africa, a few clicks from Botswana. After flying over 13 hours from Cambodia, I…

The Makanyane Safari Lodge is located across from the Madikwe Game Reserve in the North-East of South Africa, a few clicks from Botswana. After flying over 13 hours from Cambodia, I…
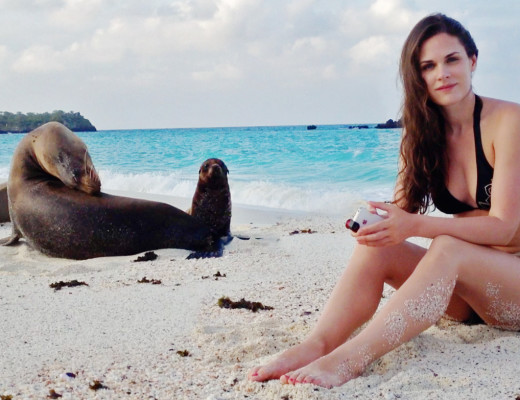
A few years ago, I set off on an incredible around the world adventure attempting to capture 15 countries with my iPhone 4S and my app, Camera+. I never got around…
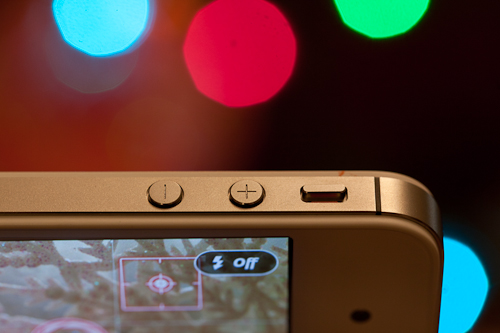
VolumeSnap on your iPhone makes shooting a breeze.…
Easy Photoshop video tutorial on getting a vintage look on your photos.…
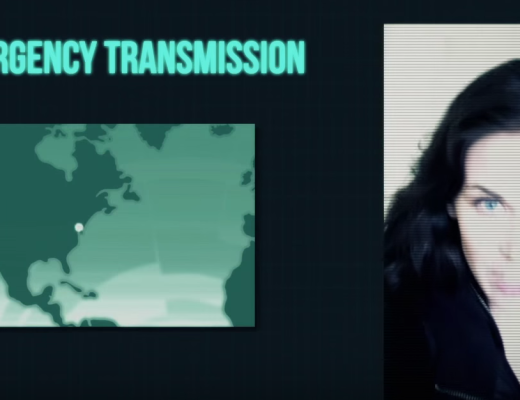
My evil twin, Sophia has been stirring up all kinds of trouble in tap tap tap’s new app, The Heist! I am truly excited to be a part of this amazing…

Make your iPhone photos awesome with one tap.…
Sharing multiple images with Camera+ to Flickr, Twitter, Facebook & by email is a snap. Here’s a video detailing everything you need to know to share your shots to your favourite…
Camera+…
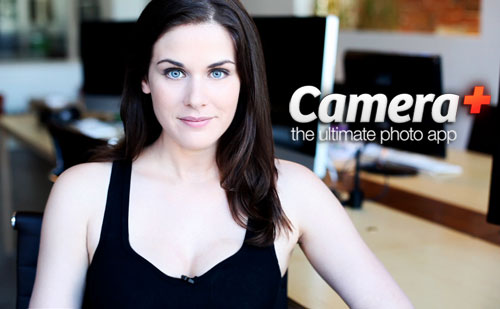
Best iPhone Camera App Ever and my first App ; )…
Geekin’ out on the DSi with Blackbox’s M14 ANR headphones. Back to School doesn’t have to be the end of fun! Well, in all honesty it does, but at least you…