Photo by Scott Stulberg. Guest Post for TWIP. Even if you are not familiar with the term light painting, you’ve probably already experimented with it. Have you ever swirled your camera…
Browsing Tag
aperture
-
-
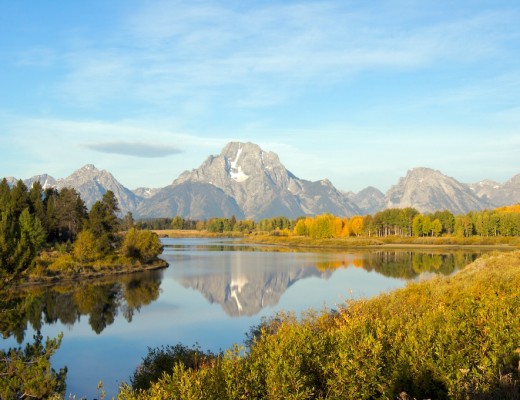
The ANPW contest winners, Pros, and I were up bright eyed and bushy tailed this morning at 5am, hoping to catch a beautiful dawn in Grand Teton Ntl. Park. The actual…
-
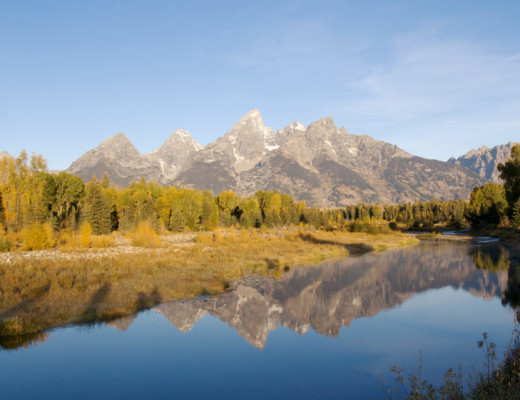
Yesterday I arrived in the small Mountain Resort town of Jackson Hole, Wyoming. I couldn’t help “oohing” and “ahhing” at the spectacular view of the mountains, winding rivers, and the gorgeous…
-
This goose is 100% Canadian just like me. He even said “aboot”. Next week, I am heading to Jackson Hole, Wyoming, along with 8 amazing photographers for the first Aperture Nature…