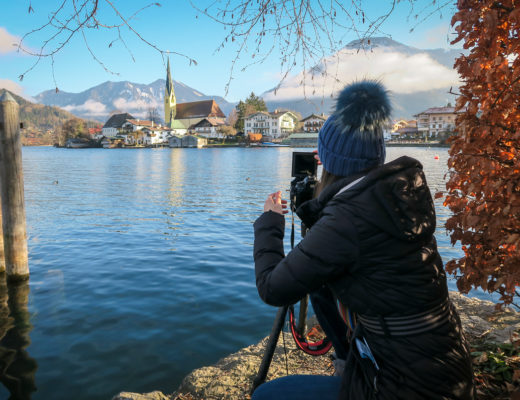
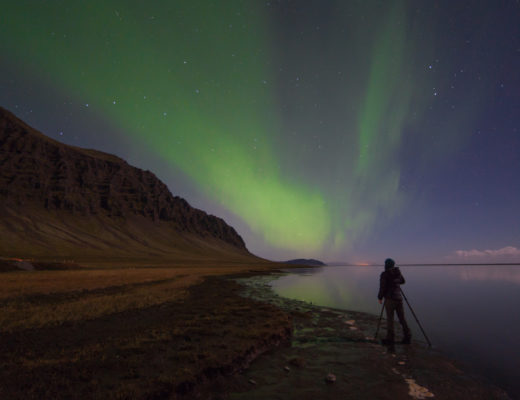
My video tutorial this week focuses on how to take great landscape photos with your iPhone. I will be running another Mostly Lisa Photo of the Week contest to encourage you to share your best Camera+ photo and win great prizes.
1. Shoot during Sunrise or Sunset
The quality of light is one of the most important things in great scenery shots. Ideally, you want to shoot landscapes either at sunrise or sunset when the light is the most even and the colours are the most brilliant. Try to avoid shooting in harsh, high-contrast light around mid-day.
My favourite time to shoot is magic hour — the hour right before sunset when the light is soft and golden. This is the ultimate time to capture silhouette and lens flare shots. It’s actually quite impressive how well the iPhone deals with this kind of light. I’ve been really surprised with the lens flare shots I’ve captured with my iPhone. Plus, it is way less stressful taking your iPhone to the beach versus your expensive dSLR.
2. Exposing your shot
Setting the exposure on an iPhone is very finicky. If you tap and correctly expose for the sky (under exposing the land or sea), you get a much more balanced image than if you expose for the land/sea and blow out your sky. It’s much easier to fix under exposure than blow out. If you are using Camera+ (which you should because it’s awesome :P), you can auto correct poor exposures using any of the scene modes and add a touch of awesome with the FXs modes.
3. Compose the whole frame
When you compose your shot make sure that the edges of your frame are as strong as the centre. Watch for any distracting elements protruding into your shot like tree branches, power lines, or that guy that always manages to walk into your shot and ruin it. If you can’t avoid getting distracting guy into your shot, then make sure to crop him out of your final picture.
4. Demonstrate a sense of scale
Without a reference point, majestic mountains can lose their grandeur, so make sure you frame in a reference point of scale. Buildings, people, sailboats all add a sense of scale to landscape photos.
5. Rule of thirds
Great landscape photos almost always follow the rule of thirds. This golden rule of photography is easy to implement using a 3×3 grid in camera mode. Instead of placing the horizon in the middle of the frame, place it off centre at one of intersection points. I like to use the power points in the top right or bottom left. Also, adding a foreground element can also add a greater depth to your photos.

Kitsilano Picnic. Scene Mode: Sunset.
With that being said. anything is possible with iPhone photography so get out there, break all the rules and have fun!


Tweets that mention MostlyLisa.com » Blog Archive » How to take great landscape photos with your iPhone -- Topsy.com
June 27, 2010 at 1:27 PM[…] This post was mentioned on Twitter by Lisa Bettany, Camerasdirect, Sílvia Dias, printercartridges, Davis Seal and others. Davis Seal said: mostlylisa: http://bit.ly/crV5gc 5 Tips to Taking Great Landscape Photos [VIDEO] http://dlvr.it/24vHQ […]
Kevin
June 27, 2010 at 2:51 PMExcellent video Lisa. Did you make it south of the Border to get your iPhone 4? The iPhone 4 display makes you App even more sweet :-)
Take care
Felix Widjaja
June 27, 2010 at 10:32 PMI didn’t know that I can tap focus. Thanks Lisa, I really enjoy your video tutorial and the Camera+
kennii
July 1, 2010 at 1:44 AMHey, sweet new design!
Much better than your last “new design” :) (the old one was nice too, but that one between …)
*thumbs up*
peti
July 1, 2010 at 11:43 PMD’oh – I didn’t realise you could set the exposure by tapping different areas of the screen! Looking forward to taking some pics tomorrow with this in mind…! Great tute. :)